Customize WooCommerce Emails
With this plugin, you can create your own WooCommerce emails and send them manually or when something happens (such, as when an order reaches a status or a specific product is purchased). But you can also use it to customize the standard WooCommerce emails.
To customize a WooCommerce email do the following:
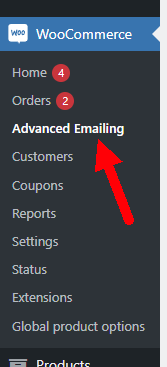
1.- Go to Advanced Emailing:
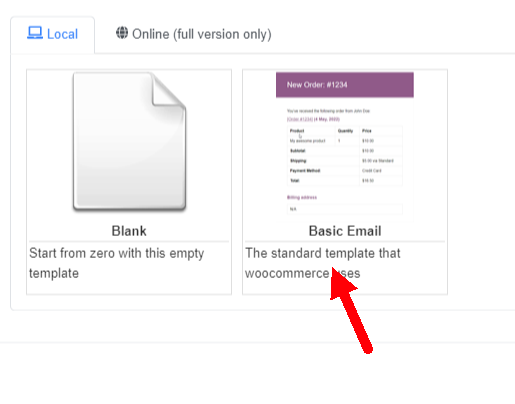
2.- Click on create a new template

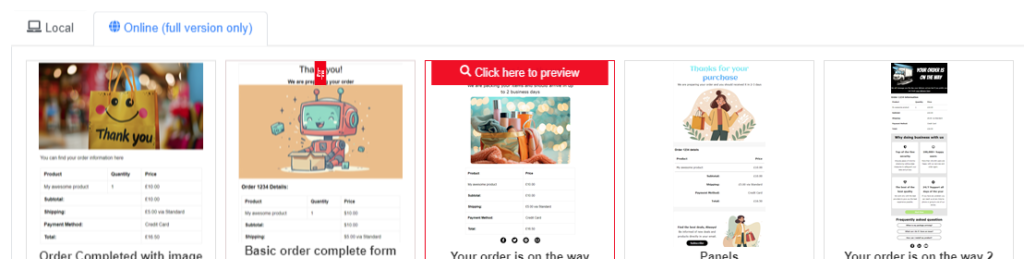
3.- Select a template, if you want you can start from the standard WooCommerce email
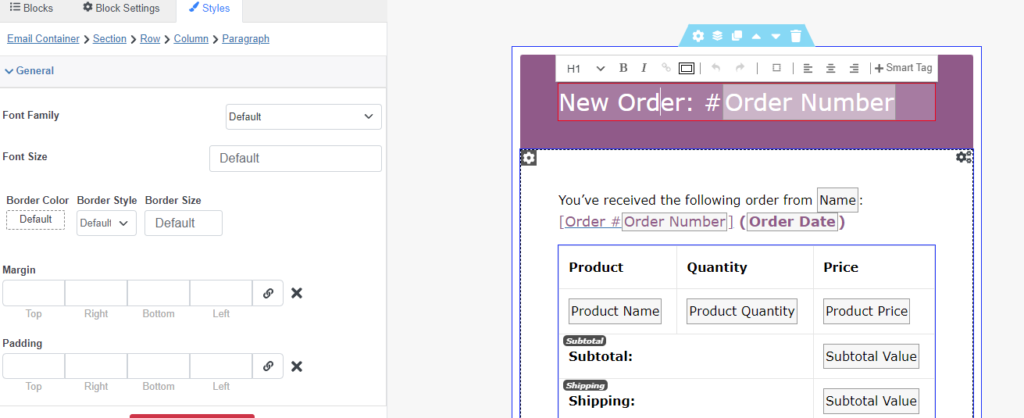
4.- (Optional). Use the drag-and-drop designer to add your final tweaks.
5.- Once your template is done go to WooCommerce / Settings / Emails
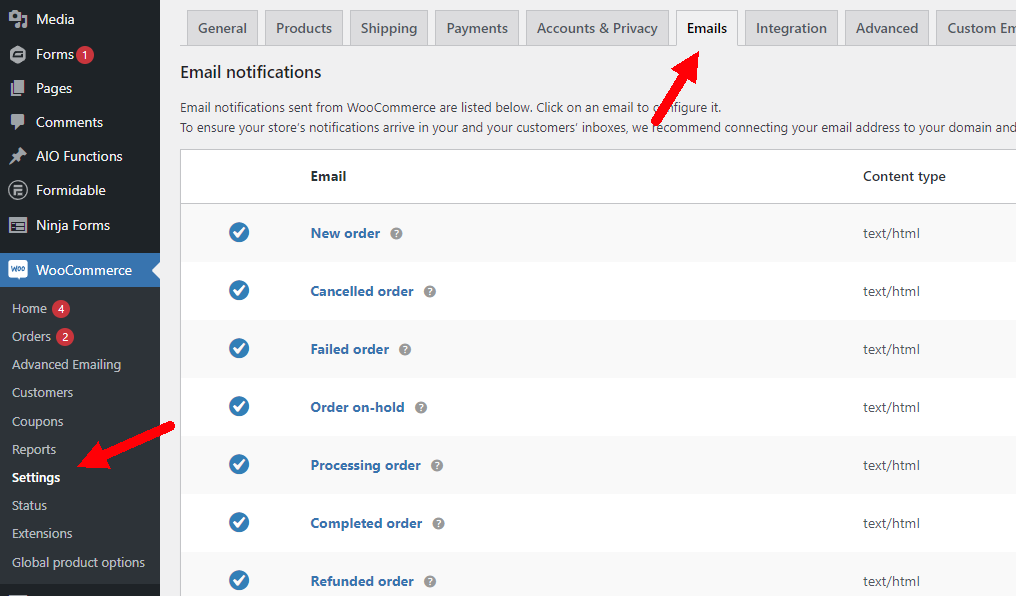
6.- Click on the WooCommerce email you want to replace with the template you created.

7.- In the setting “Overwrite with advanced email” select the template that you created
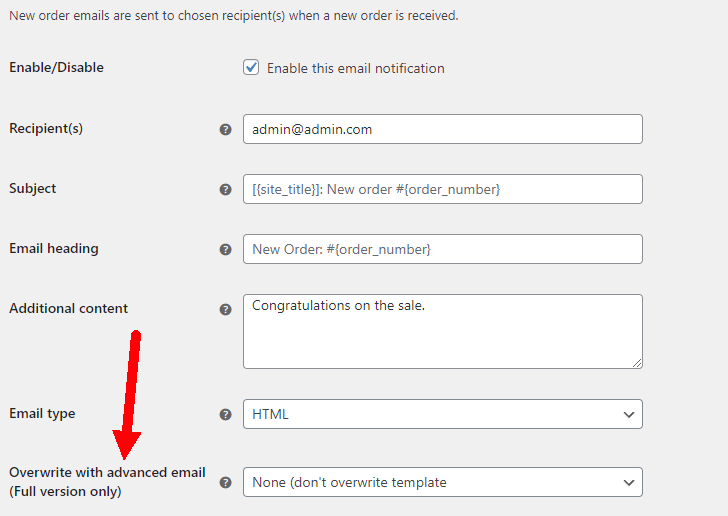
That’s it! Now WooCommerce will use your custom template.